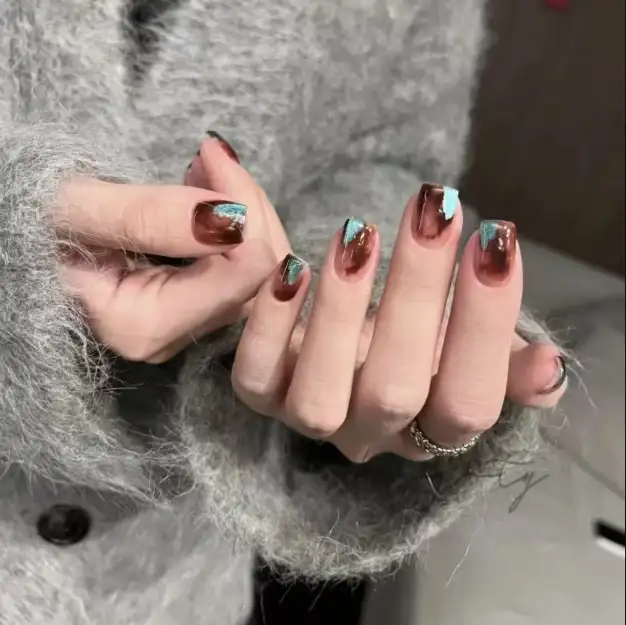
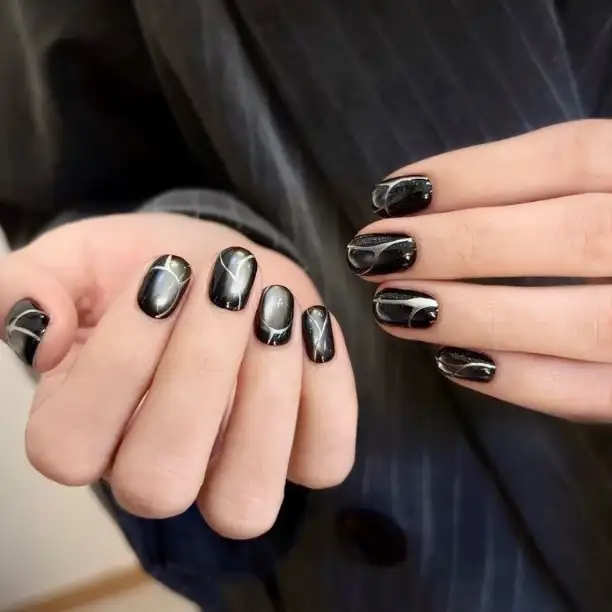
🎃 Halloween DIY Nail Art You Can Do at Home
Hi friends! Halloween is coming up, and I’ve been thinking about how to show some festive spirit everywhere — even on my nails! 💅
Today I want to share one of my favorite Halloween DIY nail designs you can easily do at home.
Even if you’re a beginner, you can totally pull off this look. Let your creativity shine, have fun, and enjoy the full Halloween vibe! Trust me — you don’t need to be a professional nail artist to create these designs.
Let’s get started! 👻
Why You’ll Love This Halloween Nail Tutorial:
1️⃣ Classic Halloween Style
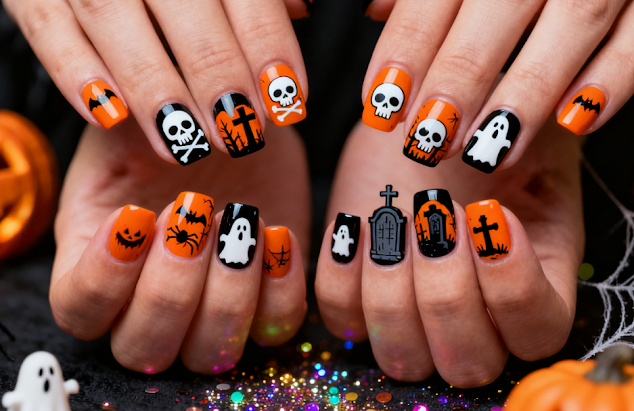
This nail design uses iconic Halloween elements — skulls, bones, and a dark spooky vibe.
Unless you want to add them, there’s no messy glitter or pastel colors.
It’s the perfect look for Halloween parties or trick-or-treating — eye-catching and full of festive energy!
2️⃣ Super Easy Step-by-Step Instructions
I’ll explain each step clearly, and you won’t need any fancy tools.
Most of the materials are probably already at home, or you can easily find them at a local beauty store.
I’ve made my share of mistakes along the way, so this tutorial is designed to be simple and beginner-friendly!
3️⃣ Endless Room for Creativity
The design I’m sharing is just a basic template — feel free to change up the colors, add decorations,
or even create a Halloween-themed French manicure!
The important thing is to have fun and create your own version.
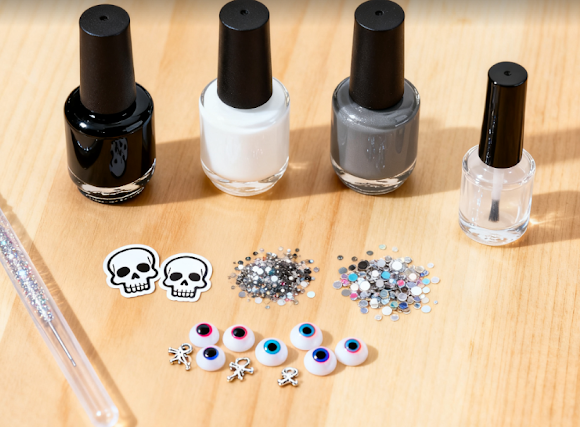
🧛♀️ What You’ll Need:
Nail Polish:
- Black (must-have)
- White (for details)
- Gray (optional, for a mysterious vibe)
Detail Brush or Dotting Tool:
Use these to draw eyes, bone lines, mini spiderwebs.
If you don’t have nail art tools, a clean fine eyeliner brush or makeup brush works too.
Top Coat:
To create a smooth glossy finish and make the design last longer.
Optional Decorations:
Skull stickers, tiny googly eyes, mini sequins, etc.
Add them for extra “spookiness” — or skip them if you prefer a minimalist look.
💡 Pro Tips:
🔹 Practice on fake nails first
If you’re not confident painting directly on your natural nails,
practice on inexpensive fake nails first — no need to worry about mistakes.
🔹 Keep your tools clean
It sounds simple, but it’s super important!
Wipe off excess polish when switching colors.
This helps your lines stay clean and sharp, making your details more precise.
🔹 Be bold and get creative
There are no rules for Halloween nail art!
Think black is too dark? Try deep purple or blood red.
Not into skulls? Switch to pumpkins, bats, or cute ghosts instead.
The more personalized it is, the more fun — and the more unique your design will be!
🕸️ Quick Step-by-Step Guide:
1️⃣ Apply a base coat to protect your nails.
2️⃣ Add 1–2 coats of color (black for boldness, gray for subtlety).
Let it fully dry before adding details.
3️⃣ Use a detail brush to draw your designs:
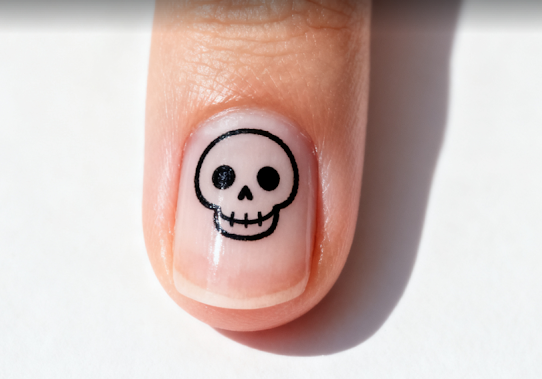
- Thumb: A small skull
- Index finger: Bone line pattern
- Ring finger: Simple spiderweb
Move slowly — clean lines come from patience.
4️⃣ If you’re adding decorations, place them on while the polish is still slightly wet.
It acts like glue and holds them in place.
5️⃣ Finish with a top coat to make the design shinier and longer-lasting.
🎉 Congrats — your Halloween nails are done! 🖤🕷️
✨ Final Thoughts
The goal of this tutorial isn’t perfection — it’s all about creativity and fun.
Enjoy the hands-on process, soak in the mysterious and playful Halloween vibes,
and let your fingertips become the most eye-catching highlight of the season!
If you try this nail look, I’d love to see your results!
Wishing everyone a spooktacular Happy Halloween! 🎃👻

One response to “A must-have for Halloween! Stunning nail art creations that can be easily completed at home”
您好,这是一条评论。若需要审核、编辑或删除评论,请访问仪表盘的评论界面。评论者头像来自 Gravatar。