Most of us have never been formally taught how to file nails correctly. We simply copy our friends, family members, or viral TikTok videos. But if you’ve ever ended up with jagged edges, cracked nails, or shapes that look nothing like your Pinterest inspo pics—don’t worry, you’re not alone.
Nail filing is actually a skill. The good news is: with expert guidance, you can achieve salon-quality results at home.
We invited three top nail experts—celebrity nail artist Sarah Giuliano, Paintbox Creative Director Maybelline Martin, and Seattle-based ManiMe partner nail artist Cassandra Barnell—to share their exclusive filing secrets.
Whether you’re a beginner or looking to level up, this is the ultimate guide to filing your nails safely and beautifully.
Step 1: Choose the Nail Shape That Suits You Best
Your nail shape shouldn’t be chosen just based on trends—it should enhance your natural nail bed.
This is especially important for beginners: shaping along your natural curve gives you more control and a cleaner look.
Expert Tips:
Giuliano: “Your natural nail bed is the perfect blueprint.”
Martin: “Look at where the nail bed meets the free edge. If it’s straight, choose a soft square. If the sides curve more deeply, round or oval shapes will work better.”
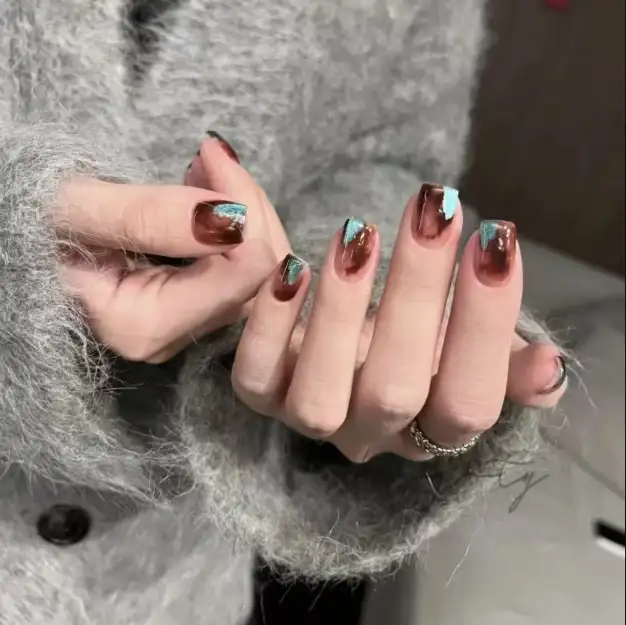
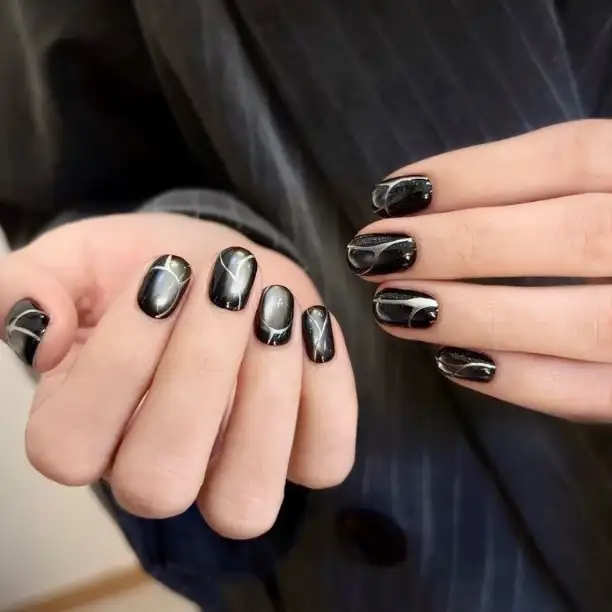
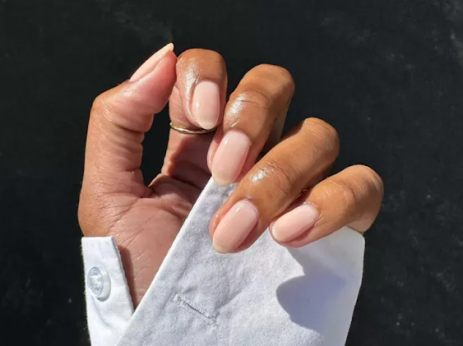
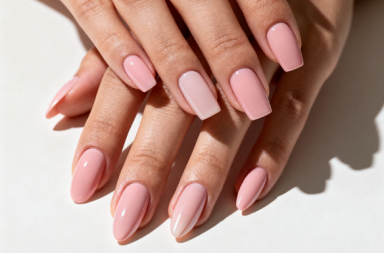
Most Popular Nail Shapes:
- Round: Beginner-friendly, follows your natural curve.
- Soft Square: Modern square look with softened edges; less likely to snag.
- Almond: Elegant and elongates the fingers; ideal for longer nails.
- Coffin / Ballerina: Sharp and sleek; great for gel or acrylic nails.
- Stiletto: Bold and stylish, but prone to breaking if not done correctly.
👉 Beginner Tip: Start with round or soft square—they’re the easiest to master and flatter almost every hand shape.
Step 2: Prep Like a Pro (Always File Dry Nails)
Wet nails are weaker and more prone to splitting.
After washing your hands or showering, wait 10–15 minutes before filing.
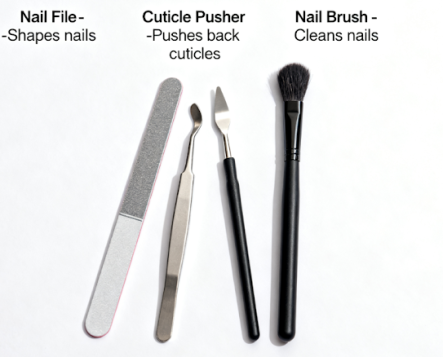
Essential Tools:
- Glass nail file: Gentle, durable, and perfect for shaping.
- Fine-grit buffer (280–500 grit): Smooths edges and evens the surface.
- Fine-grit emery board: Great for quick fixes; avoid coarse files as they can damage the nails.
Step 3: Pro Techniques for Filing Safely
Biggest mistake? Filing back-and-forth like a saw!
That weakens the nail and can cause splitting. Use the four-step method below instead:
1️⃣ File from the sides toward the center
File from the left edge toward the center, then from the right edge toward the center.
Tilt your hand slightly inward—just like a pro nail tech—to gain better control over the shape.
2️⃣ Slow down and constantly check the shape
Don’t rush. Filing too quickly can create asymmetry or make nails too thin.
Hold the nail up to the light to check for evenness.
Remember: file in one direction only!
3️⃣ Smooth the edges
After shaping, gently buff the edges with a fine-grit buffer.
About 10–15 seconds per nail is enough—over-buffing will thin the nail.
4️⃣ Final finish
Once your nails are clean and neatly shaped with crisp lines, you can apply polish or gel, or keep the natural shiny look.
Step 4: Practice Makes Perfect
You don’t need expensive tools to achieve salon results at home.
With the right supplies, patience, and technique, you can be your own nail tech.
Key rules:
- Shape following your natural nail bed.
- File in one direction only.
- Slow down and check often.
Advanced challenges:
- Once comfortable, try moving from round to soft-square shapes.
- Practice creating a “natural sheen” for the look of polished nails without polish
✨ Final Summary
Proper nail filing is the foundation of every flawless manicure.
By mastering these professional techniques, you can easily create salon-quality nail shapes at home—beautiful, polished, and budget-friendly.