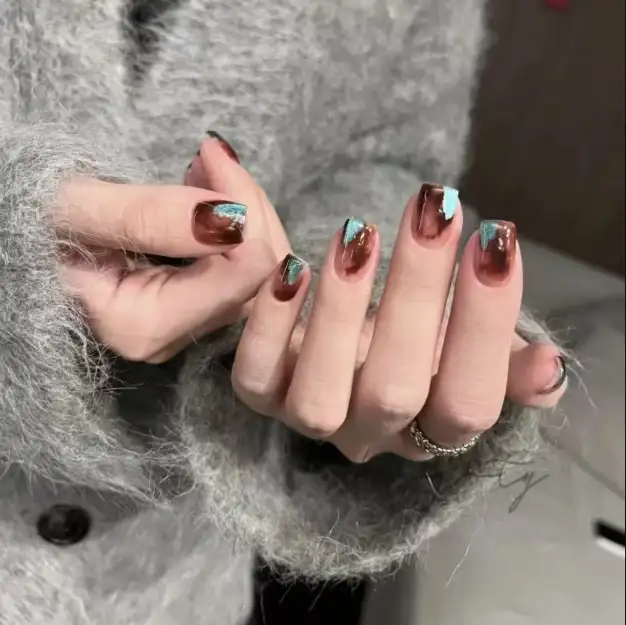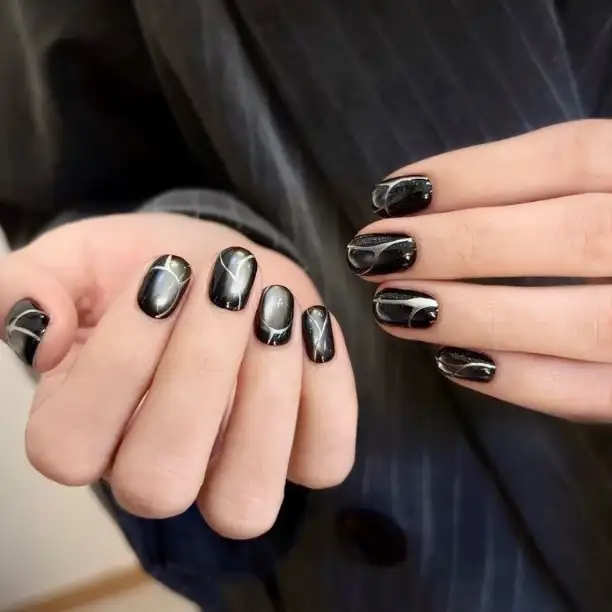
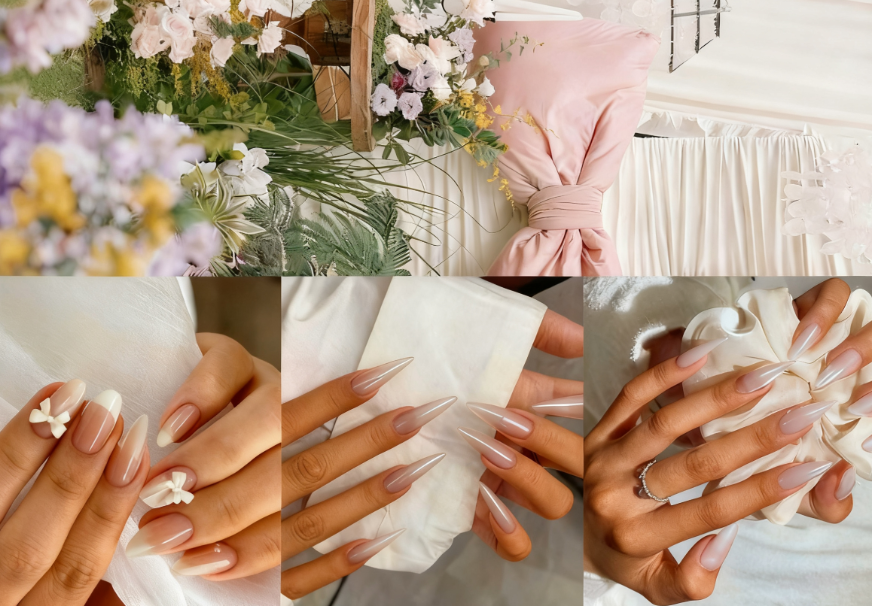
Getting a fresh set of gel nails always puts me in such a good mood —
that shine, the smooth finish, the long-lasting, chip-free color…
it truly feels like an upgrade in quality of life!
But honestly, what used to scare me the most was removal.
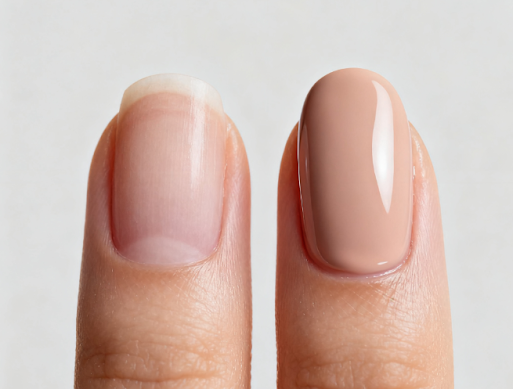
Every time I removed my gel nails, my natural nails became thin, brittle,
and even lost their shine and flexibility.
After years of trial and error — including a few disastrous experiences —
I finally figured out a foolproof gel-nail care routine.
Not only does it help maintain perfect gel nails,
but it also keeps your natural nails healthy and strong at the same time.
Here are my tried-and-tested professional insights and step-by-step tips 👇
1️⃣ Choose Your Products Carefully: Stick to One Brand
Key point: Always use products from the same brand as a complete system.
Personally, I love using Gelous.
I used to mix different brands of base coats, color gels, and top coats —
and the result was a disaster:
damaged nail plates, irritated cuticles, and several weeks of recovery.
Now I only use their full lineup:
- Base Gel
- Builder Gel
- Color Gel
- Top Coat
- UV/LED lamp

💡 Shopping Tip:
Choose a nail lamp with the correct wavelength to ensure the gel cures fully.
This helps prevent lifting, uneven texture, and even allergic reactions.
2️⃣ Builder Gel: The Guardian of Soft or Weak Nails
If your nails are on the softer side or break easily, Builder Gel is a lifesaver!
Apply a thin layer of builder gel after the base coat —
it acts like a protective shield, supporting nail extensions and preventing breakage.
💅 Pro Tip:
When removing your gel nails, keep a thin layer of builder gel on the nail surface.
This reduces damage and dryness,
and makes your next gel application smoother, easier, and longer-lasting.
3️⃣ Proper Gel Removal: Don’t Damage Your Nails
Incorrect removal methods are the biggest enemy of healthy nails!
Never pull, peel, or rip off your gel — this directly destroys the nail plate structure.
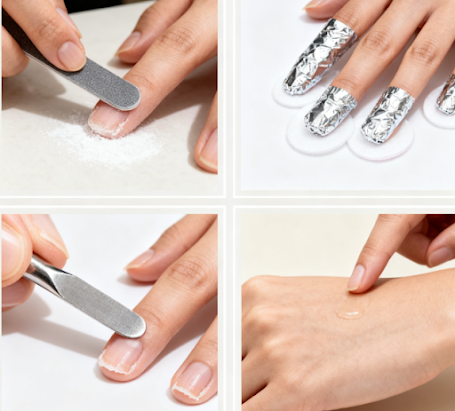
✅ Correct Removal Steps:
- Use a gel-removal tool or an orangewood stick to gently lift the edges.
- If the gel doesn’t come off easily, soak a bit longer instead of forcing it.
- If using an electric nail file, use it only on the builder-gel layer and keep the pressure light and gentle.
4️⃣ Application & Shaping: Pro-Level Details
- Avoid getting gel on the skin — once cured, it can cause lifting or even allergic reactions.
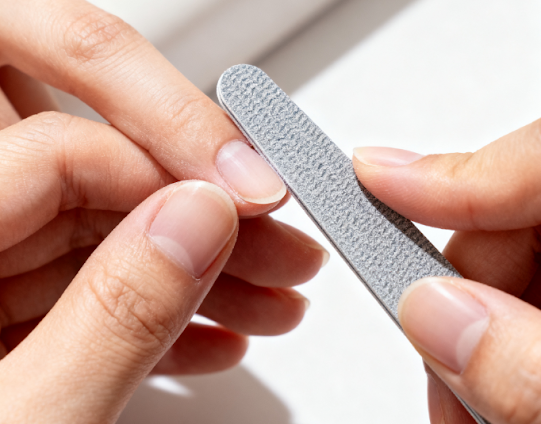
- Use a 180-grit nail file to gently shape the nails.
- Replace your nail files every few months to maintain hygiene and effective filing.
5️⃣ Daily Care: Keep Your Nails Healthy Long-Term
✨ Wear gloves when washing dishes or cleaning — this prevents dryness and lifting caused by chemicals and prolonged water exposure.
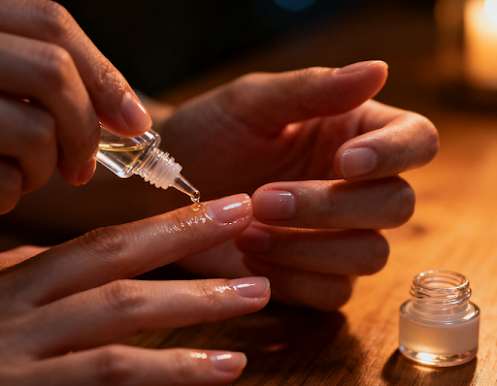
✨ Apply cuticle oil every night (jojoba oil + vitamins E and B work especially well).
✨ Follow with hand cream to maintain moisture and shine.
6️⃣ Extra Protection Tips
- Apply sunscreen or wear UV-protective gloves before curing gels to protect your skin and nails.
- Use oil-based removers to reduce dryness.
- If your nails are damaged, take a 1–2 week break from gel applications to focus on healing and recovery.
7️⃣ Final Thoughts & Summary
Gel nails don’t damage your nails on their own —
as long as you:
💖 Choose the right products
💖 Follow the correct steps
💖 Maintain daily nail care
By following these methods,
your nails will not only look glossy and gorgeous,
but will also become stronger and healthier than before.
Now, I can finally enjoy the beauty of long-lasting gel nails
without fearing the dreaded “post-removal nail damage!”
Your fingertips deserve to be treated with this kind of gentle care. 💅✨